
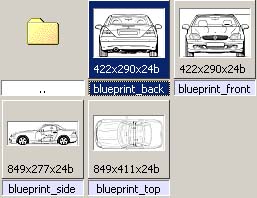
Fig. 1
When you got all the files you need, you have to get them into max, and you have to show them as textures. in the menu custumize/preferences/viewports press configure drivers (This is if you are using OpenGL).
Then set the texturesize to "Match Bitmap as Cloase as possible" this will if you a nice crisp texture in the viewport instead of a texture looking like a real low-res image.

Fig. 2
Then make a plane, with the Lenght and Width correspondent to the pixels size show in Fig. 1
And make sure the "Generate Mapping Coords." is marked, then you don't have to map it.

Fig. 3
Then go to the Material Editor and make a material with the Top image in the diffuse slot. Press the "Show Map In Viewport" (1) Then you can see the texture when you choose to shade the viewport.
Press also the "Sample Type" (2) and choose the box, then you can see the texture a bit better.
Final assign the material to the plane by pressing "Assign Material to Selction" (3)

Fig. 4
Now go back from the diffuse settings, and set the Self-Illumnation to 100, so its no getting any highlight in the viewport.

Fig. 5
Repeat all the steps above, to make all the sides of the car.
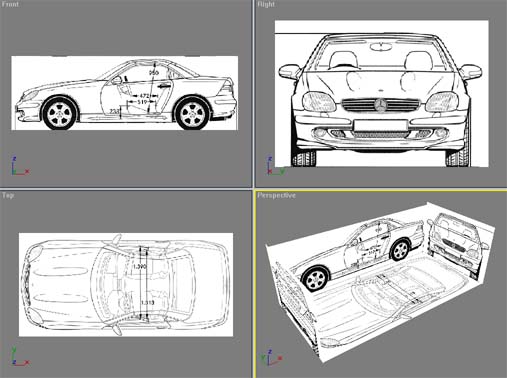
Fig. 6
Now you can start modelling, you can see the start of the mesh for my Mercedes SLK, the material i'm using is 50% transparent so I can see both the mesh and the blueprints behind.
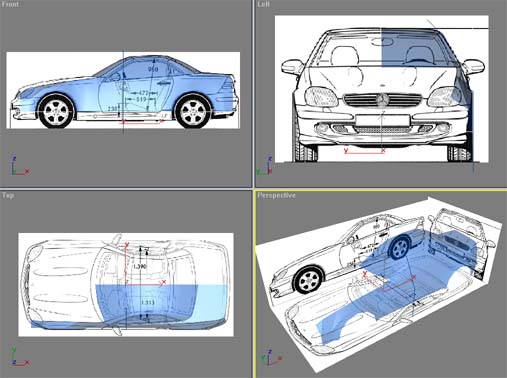
Fig. 7
Here you can see the my final SLK and the blueprints besides it, as you can see its pretty close to a 100% match.
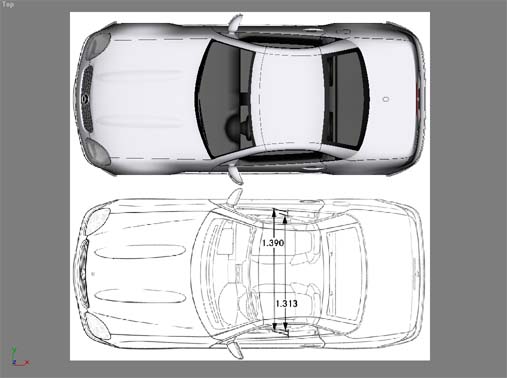
Fig. 8
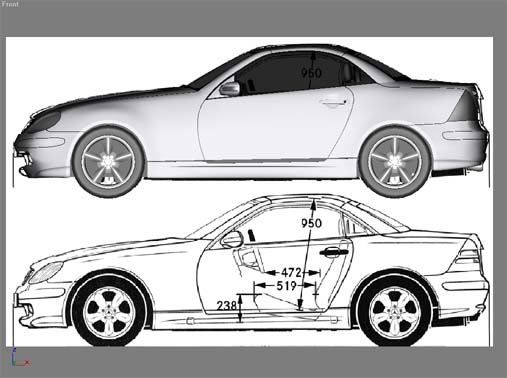
Fig. 9